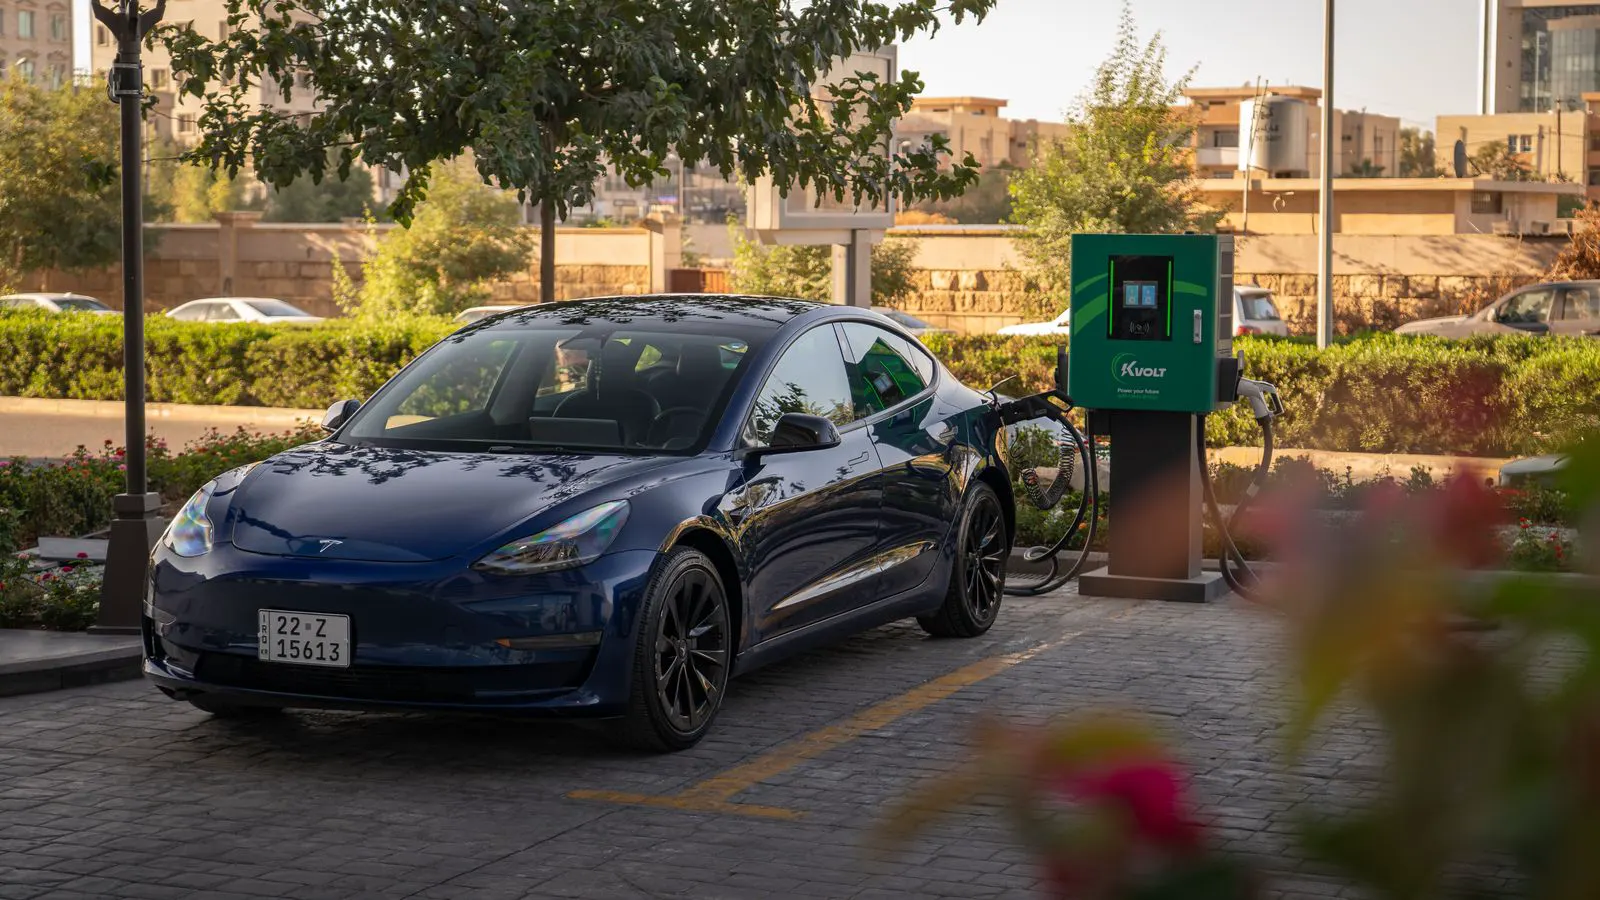
EV charger installation cost varies significantly between AC wallboxes and DC depot systems. AC wallboxes are generally lower cost per unit but require careful load management. DC depots have high upfront costs but higher throughput. Budget for grid upgrades, labor, and lead times to plan procurement accurately.
- AC wallbox installation is typically cheaper per unit but may require panel upgrades.
- DC depot charging involves substantial upfront capital for transformers and load management.
- Grid connection and permitting often drive the final project cost more than the hardware itself.
- Compare quotes based on total installed cost, not just equipment price.
- Lead times for high-power DC systems are longer than for standard AC units.
Why EV Charger Installation Cost Varies So Much
The final price of a charging deployment is rarely the sticker price of the hardware. A project can double or triple in cost when site conditions, grid capacity, and labor rates are factored in. Understanding these variables helps procurement teams build realistic budgets and avoid surprise overruns during the installation phase.
The hardware itself is often a small fraction of the total project value. For a simple home installation, the charger might be a quarter of the final cost. For a fleet depot, the transformer and utility work can exceed the cost of the charging cabinets themselves. The difference lies in the interface between the electrical infrastructure and the new equipment. Procurement teams frequently underestimate this interface because they view the charger as a plug-and-play device. It is not. It is the endpoint of a complex electrical chain that includes service entrances, panels, breakers, cabling, and utility meters.
Cost variation also stems from the maturity of the local electrical market. Areas with high demand for new electrical work face labor shortages and higher unit rates. Conversely, regions with abundant skilled electricians and competitive utility rates will see lower installation costs for the same hardware. A quote received in one city should not be applied to a site in another without adjustment for local market conditions.
AC Wallbox Installation: The Baseline Scenario
AC wallboxes are the standard for home charging and lower-volume workplace or hotel deployments. The installation process is straightforward. An electrician mounts the unit, runs or taps into existing wiring, and connects the breaker.
The primary cost drivers here are the existing electrical infrastructure. If the site has a dedicated panel with spare capacity, labor costs remain manageable. If the panel is full, an electrician must install a new subpanel and run new conduit and cable. This work adds material costs for copper wire, conduit, and breakers. It also adds labor hours for trenching or drilling if the panel is not in a convenient location.
Consider a typical office building with a legacy electrical system. The main service panel may be located in a basement or a remote electrical room. Running cable from that panel to a charging station on the second floor might require new conduit routing through walls and ceilings. This work involves demolition, drilling, and patching. The materials are modest, but the labor hours multiply. If the building has no dedicated circuit for the charger, the electrician must also consider the impact of the new load on existing circuits. In some cases, the existing wiring may be undersized for the additional demand, requiring a full rewiring of the branch circuit.
AC systems also require a load management system if multiple chargers share a single circuit. This hardware costs less than a full DC transformer setup but adds to the initial budget. Load management is critical in multi-unit dwellings or offices where multiple vehicles charge simultaneously. Without it, the site may trip breakers or overload the main supply. Modern load management systems communicate with individual chargers to allocate power dynamically. This adds software licensing costs and sometimes requires a gateway device.
The mounting method also affects cost. Wall-mounted units require brackets and drilling into masonry or concrete. Floor-mounted units require concrete anchoring and possibly a small pad. The choice depends on the site layout and safety requirements. In high-traffic areas, floor-mounted units may be preferred to avoid cable damage, but they require more civil work.
DC Depot Charging: High Throughput, High Upfront
DC depot charging serves fleet operators and high-volume public sites. The cost structure here is inverted compared to AC. The hardware is more expensive, and the installation is more complex.
A DC depot setup typically requires a dedicated electrical service. The grid connection may need to be upgraded from a standard commercial supply to a high-capacity three-phase feed. This involves utility company work, which is often the most expensive part of the project. Utility rates vary by region, but the labor for trenching, pole work, and transformer installation can run into significant figures.
The charger units themselves are heavier and require more robust mounting structures. Ventilation and cooling systems are also required for high-power DC units. These mechanical additions increase both the equipment cost and the installation labor. DC chargers operate at high voltages and currents. They generate significant heat during operation. Without adequate cooling, the power electronics degrade faster, leading to higher failure rates and maintenance costs. Many installations include forced-air cooling cabinets or liquid cooling systems. These systems require pumps, fans, and coolant circulation loops. The installation labor for these mechanical systems is specialized and often outsourced to HVAC or mechanical contractors.
The civil work for DC installations is substantial. Trenching for high-current cables requires careful planning to avoid damaging existing utilities. The cable size for a 150 kW DC charger is significantly larger than for a 7 kW AC unit. This increases the weight and the cost of the cable. Conduit routing must account for the larger diameter of the cables. In some cases, direct burial is required, which involves trenching, backfilling, and protective gravel layers.
Grid Connection and Permitting: The Hidden Costs
Most budgeting errors occur here. Teams estimate the cost of the charger and the installation labor, but they forget the cost of making the grid able to support it.
Permitting requirements vary by municipality. Some areas require a full electrical plan review, while others have simplify processes for standard AC installations. DC depot projects almost always require a full review of the proposed electrical load. This process takes time and money. The electrical engineer must submit load calculations, one-line diagrams, and single-line diagrams. The local authority may require a load flow analysis to ensure the utility feeder can handle the new demand.
Grid connection fees are a major factor. The utility may charge for new service, upgraded transformers, or metering infrastructure. These fees are not included in the charger quote. They are billed separately by the power provider. The utility may also require a metering upgrade to handle the higher current draw. Smart meters are often required for dynamic pricing and load management. The cost of the meter and the installation can vary significantly.
The permitting process can take weeks or months. During this time, the project is on hold. The contractor may be charged for standby time or extended retention. It is essential to start the permitting process early. In some jurisdictions, the utility connection application must be submitted before the electrical permit is issued. This dependency creates a critical path that must be managed carefully.
How to Write a Clear RFQ for Installation
To get accurate quotes, the Request for Proposal must be specific. Vague requests lead to vague estimates, which are useless for budgeting.
- State the exact site conditions. Include photos of the electrical panel, the intended mounting location, and any existing conduit.
- Specify the number of chargers and the expected daily charging cycles.
- Define the power requirements. State the voltage and phase count. For example, 230V single-phase or 400V three-phase.
- Request itemized labor costs. Ask contractors to separate hardware, electrical work, civil work, and utility connection costs.
- Ask for lead times. Request the time from order to site delivery and from site delivery to commissioning.
A detailed RFQ should also include the site survey report. The survey should identify the location of the main transformer, the size of the service entrance, and the capacity of the existing panel. It should also note any obstructions to cable routing. The more information provided, the fewer assumptions the contractor must make. Assumptions lead to change orders, which increase costs and delay the project.
The RFQ should specify the compliance standards. Different regions have different electrical codes. The contractor must comply with local regulations. This includes grounding, bonding, and labeling requirements. The RFQ should also specify the warranty terms. The hardware warranty and the installation warranty should be clearly defined. The installation warranty should cover workmanship and materials used for the electrical connection.
How to Compare Quotes Fairly
Two quotes for the same charger can look very different. One may include the transformer and utility fees. The other may exclude them. To compare fairly, normalize the scope.
Create a table that lists each cost component separately. Hardware, labor, materials, permits, utility fees, and commissioning. Add a row for the total installed cost. This reveals which contractor is offering the best value.
A lower hardware price does not mean a lower total cost. If one quote includes the grid upgrade and the other does not, the total installed cost may be similar or even higher for the cheaper hardware option. The comparison should also consider the quality of the materials. A cheaper contractor may use lower-quality cable or breakers. This can lead to higher maintenance costs and shorter system life. The total cost of ownership should include the expected maintenance and replacement costs over the life of the installation.
The quote should also include the commissioning costs. Commissioning involves testing the charger, verifying the load management, and integrating the system with the fleet management software. This work is often overlooked in the initial budget. It requires specialized labor and time. The commissioning plan should be included in the quote and should specify the testing procedures and the acceptance criteria.
Cost Drivers Table
| Cost Component | AC Wallbox | DC Depot | Notes |
|---|---|---|---|
| Hardware | Low | High | DC units are more complex and heavier |
| Electrical Labor | Moderate | High | DC requires specialized high-voltage work |
| Grid Connection | Low to Moderate | High | DC often requires utility upgrades |
| Civil Work | Minimal | Moderate to High | Trenching and mounting structures for DC |
| Load Management | Moderate | High | DC requires advanced power distribution |
| Lead Time | Short | Long | Utility and transformer lead times are long |
Installation Budget Planning
When building a budget, separate capital expenditure from operating expenditure. Capital costs include the hardware, installation, and grid upgrades. Operating costs include electricity, maintenance, and software licensing.
A common mistake is underestimating the electrical work. Copper prices and labor rates fluctuate. If the project timeline is long, the cost of materials may increase before installation begins. Building in a contingency of 15 to 25 percent for electrical and civil work is a prudent practice for most projects.
Also consider the cost of future expansion. Designing the installation with spare capacity in the panel or the conduit can save significant money later. It is cheaper to plan for growth now than to rip out and replace the infrastructure in two or three years. The spare capacity should be documented in the as-built drawings. This ensures that future work can be planned accurately.
The budget should also include the cost of energy management software. For fleet operations, software licensing can be a significant recurring cost. The software may be required for load balancing, reporting, and integration with the vehicle telematics system. The license fees should be included in the operating budget.
Lead Times and Delivery
Lead time is a cost factor even if it is not a direct expense. Delays in grid connection or transformer delivery can stall the entire project.
AC wallboxes generally have shorter lead times. They are smaller, lighter, and easier to ship. DC depot systems often have longer lead times due to the complexity of the components and the need for custom utility connections.
When planning the budget, include a schedule risk cost. If a project is delayed, you incur carrying costs for the project management and potential contract penalties. Factor this into the total cost of ownership.
The lead time should be confirmed in writing by the supplier and the utility. The utility may have a backlog of applications. The transformer may have a long manufacturing cycle. The charger manufacturer may have a limited production capacity. All these factors contribute to the total lead time. The project schedule should reflect these constraints and include buffer time for unexpected delays.
Final Checks Before Signing
Before awarding the contract, verify a few last things. Confirm that the contractor has the necessary licenses for electrical and civil work. Check their insurance coverage. Review the warranty terms.
Ask for a detailed commissioning plan. The charger should not just be turned on. It needs to be tested for load balancing, fault detection, and communication with the fleet management system. This testing time should be included in the labor quote.
A clear understanding of the EV charger installation cost structure prevents budget overruns. Focus on the total installed cost, not just the hardware price. Plan for grid upgrades and labor carefully. Use a detailed RFQ to get comparable quotes. This approach leads to a smoother procurement process and a more predictable project budget.
Frequently asked questions
Is AC wallbox installation cheaper than DC depot charging?
Yes, AC wallbox installation is generally cheaper per unit. The hardware and electrical work are simpler. DC depot charging has higher upfront costs for transformers and grid upgrades.
What is the biggest cost driver in EV charger installation?
Grid connection and electrical upgrades are often the biggest cost drivers. If the existing infrastructure cannot support the load, utility work and new cabling add significantly to the budget.
How long does it take to install a DC depot charging system?
Lead times vary by region and utility requirements. DC depot installations typically take longer than AC wallboxes due to complex electrical work and longer lead times for transformers.
Can I install an EV charger without upgrading the grid?
Sometimes. AC wallboxes can often be installed on existing circuits if there is spare capacity. DC depot systems almost always require a grid upgrade due to their high power draw.
What should I include in my installation budget?
Include hardware, labor, materials, permits, utility fees, and commissioning. Do not forget to add a contingency for unexpected site conditions or material price changes.