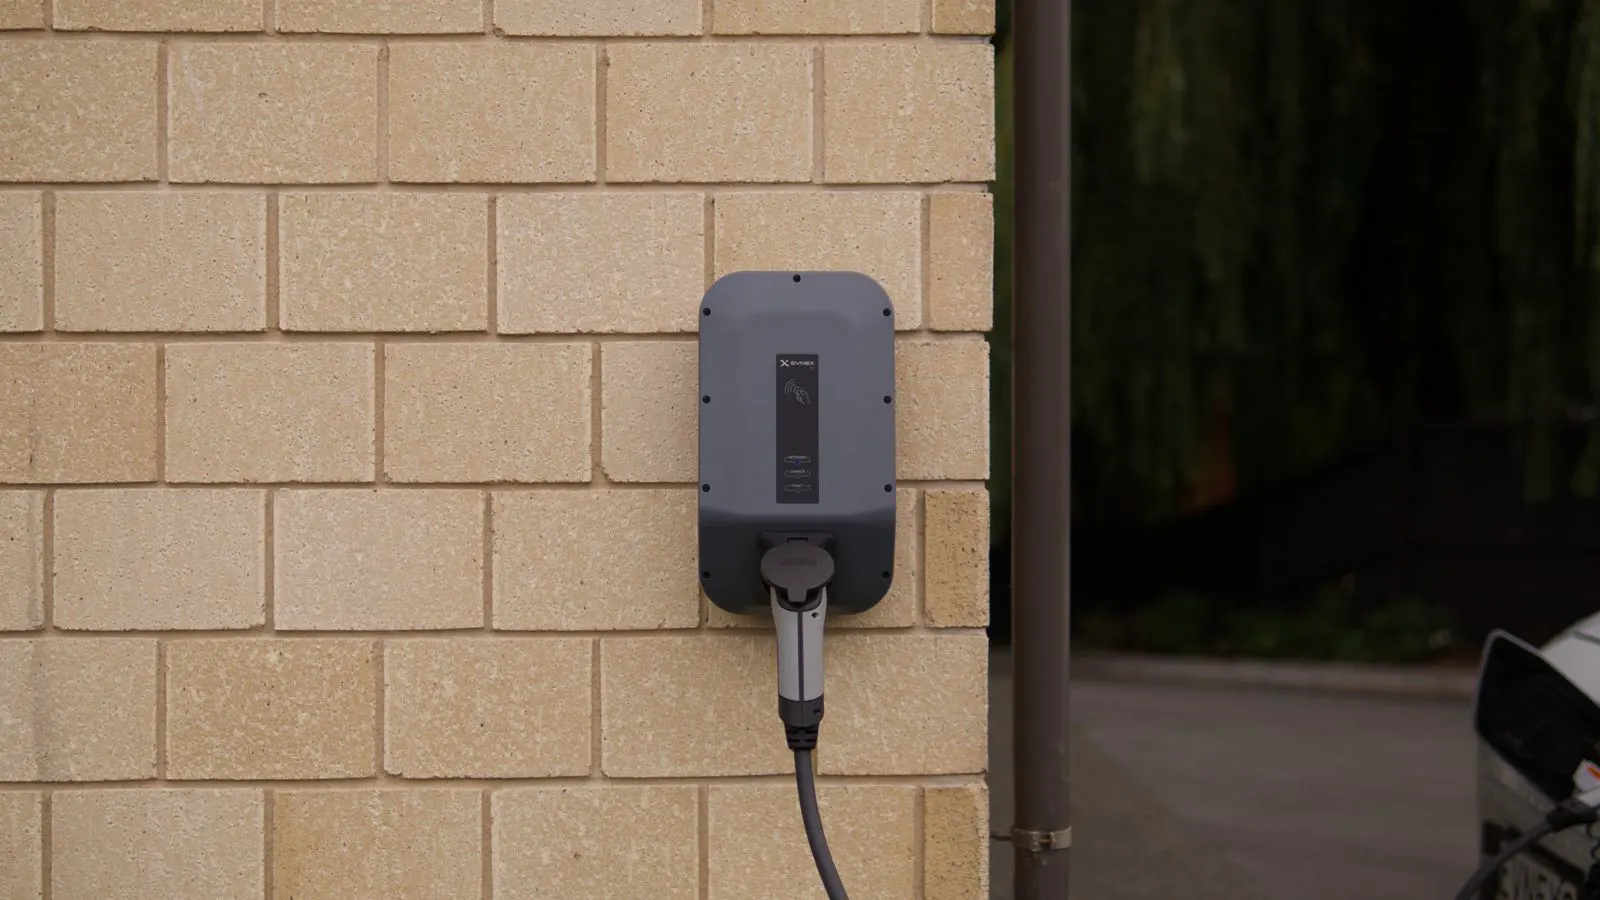
AC charger troubleshooting requires matching symptoms to specific hardware faults. This guide lists common error messages, their likely causes, and safe solutions to reduce downtime. It covers communication, power, and thermal issues.
- Match the specific error message to the physical component or protocol it controls.
- Verify power supply stability and grounding before resetting any AC charger unit.
- Use manufacturer documentation for code definitions, as symbols vary by platform.
- Log recurring faults to identify wear or environmental stress.
- Keep a basic test plan for communication and power checks.
Understand the Fault Code Hierarchy
Every AC charger unit communicates errors through a combination of LED patterns, display text, and logged digital codes. The first step in AC charger troubleshooting is identifying which layer of the system is reporting the problem. Most modern units report issues in a specific order. Power supply faults usually override communication errors. Communication errors take priority over thermal or connector faults.
If a charger displays a generic “fault” or “error” message without a specific code, the unit may have lost its internal state. This often happens after a power interruption or a firmware update. In these cases, check the power supply first. A fluctuating voltage or a loose neutral connection can cause the control board to reset. Once power stabilizes, the charger may display a new, more specific error.
Operators should note that fault codes are not standardized across all manufacturers. A code meaning “overtemperature” on one brand may mean “communication timeout” on another. Always consult the specific model manual. Relying on generic assumptions can lead to incorrect repairs. If the manual is unavailable, contact the supplier. Do not guess the meaning of a code. Misinterpretation can bypass safety interlocks and create a risk.
Check Power Supply and Grounding
Power issues are the most frequent cause of AC charger faults. The charger requires a stable three-phase or single-phase supply, depending on the model. A 22 kW charger draws significantly more current than an 11 kW unit. This higher draw exposes the unit to voltage drops during peak load. If the supply voltage dips below the acceptable range, the charger will trip a fault.
Inspect the breaker box. Look for tripped breakers or loose terminal connections. Heat damage around the terminals is a clear sign of poor contact. This generates resistance and wastes energy. It also creates a fire risk. Tighten connections only after de-energizing the circuit. Follow local electrical safety regulations. Use insulated tools and verify zero energy with a multimeter.
Grounding is equally critical. The charger chassis must have a solid earth connection. A high-resistance ground will trigger safety faults. The unit will not allow the cable to energize if the ground is open. Test the ground continuity with a multimeter. The reading should be very low, typically under one ohm. If the ground is faulty, trace the path back to the main panel. Do not ignore this fault. It is a safety requirement, not a convenience.
Diagnose Communication and Network Errors
AC chargers connect to the vehicle via the Mode 2 cable. This cable carries power and communication signals. Faults in this section often appear as “communication error” or “handshake failure.” The charger cannot talk to the vehicle, so it refuses to start charging. This is a safety feature. It prevents the unit from energizing if the vehicle is not ready.
Check the cable first. Look for damaged insulation, bent pins, or loose connectors. A worn cable is a common source of intermittent faults. Replace the cable if the insulation is cracked or the connector is corroded. Test the new cable with a known-good charger. If the fault persists, the issue is likely internal to the charger or the vehicle.
Network connectivity also matters for connected chargers. If the charger relies on a cellular or Ethernet link to a backend system, a loss of connection can trigger a fault. Check the status lights for network activity. A steady light may indicate a connection. A blinking light may mean it is searching. Check the router or cellular modem. Restart the network equipment. Ensure the charger has a valid IP address. If the charger is isolated from the network, it may still charge, but it will not report data.
Monitor Thermal Management and Cooling
Heat is the enemy of long-term reliability. AC chargers have internal power electronics that generate heat. They rely on fans and heat sinks to dissipate this energy. If the cooling system fails, the unit will trigger a thermal fault. The error message might say “overheat” or “temperature high.”
Inspect the ventilation openings. Dust and debris can block airflow. Clean the unit with compressed air or a soft brush. Do not use water directly on the electronics. Ensure the fan is running. Listen for unusual noises. A grinding sound indicates bearing failure. A silent unit with a fault may have a broken fan motor. Replace the fan assembly if needed.
Check the ambient temperature. If the charger is installed in a location with poor ventilation, it may overheat even in moderate weather. Avoid direct sunlight. Do not block the vents with storage items or signage. If the unit is in a hot climate, consider a larger enclosure or a dedicated air conditioning unit. Proper installation reduces thermal stress.
Inspect the Connector and Safety Interlocks
The connector interface is where the charger meets the vehicle. This area is exposed to physical damage. Rain, dust, and mechanical impact can degrade the contacts. Faults here often appear as “connector fault” or “pin misalignment.”
Inspect the connector for burnt pins or melted plastic. This indicates a high current event. It may be caused by a short circuit or a poor connection. Do not attempt to repair a burnt connector. Replace it. Check the emergency stop button. Press it to verify it works. Pressing the stop button should cut power immediately. If it does not, the interlock circuit is faulty.
Check the cable lock. Some AC chargers have a physical lock to prevent cable removal. If the lock mechanism is jammed or broken, the charger may report a fault. Lubricate the moving parts with a dry silicone spray. Avoid oil-based lubricants, which attract dust. Test the lock mechanism before reconnecting the charger.
Use a Structured Troubleshooting Table
The following table lists common symptoms and their likely causes. Use this as a quick reference. Always verify the specific code in the manufacturer manual before taking action.
| Symptom | Likely cause | What to do |
|---|---|---|
| Generic “Fault” or “Error” | Power interruption or reset | Check supply voltage and grounding |
| “Communication Error” | Damaged Mode 2 cable or connector | Inspect and replace the cable |
| “Overtemperature” | Blocked vents or failed fan | Clean vents and test the fan |
| “Connector Fault” | Burnt pins or jammed lock | Inspect connector and replace if damaged |
| “Power Supply Error” | Voltage drop or loose breakers | Check breaker box and tighten connections |
| “Network Timeout” | Lost cellular or Ethernet link | Restart modem and check IP settings |
Prevent Recurring Faults with Maintenance
Prevention is cheaper than repair. A scheduled maintenance plan reduces downtime. Inspect the charger unit monthly. Check for dust buildup, cable wear, and connector condition. Log the findings. Keep a record of any faults and repairs. This data helps identify patterns. If a specific unit fails repeatedly, it may be nearing end of life.
Train staff on basic safety checks. They should know how to reset a charger after a fault. They should know when to call a technician. Do not allow untrained personnel to open the charger enclosure. High voltage components can store charge even when disconnected. Always wait a safe period after power-down before touching internal parts.
Keep spare parts on hand. Cables, fuses, and fans are common consumables. Having these on site reduces repair time. If the charger is part of a smart load management system, ensure the software is up to date. Firmware updates can fix bugs that cause false faults. Follow the manufacturer’s release notes.
When to Call a Technician
Some faults require professional intervention. If the charger fails to reset after a power cycle, the control board may be damaged. If there are signs of burning or water ingress, stop using the unit immediately. Water inside the electronics can cause permanent damage and electrical hazards.
If the fault persists after checking power, grounding, and cables, the issue is likely internal. This could be a failed power module, a damaged sensor, or a faulty display. These parts are often sealed inside the enclosure. Do not attempt to open the unit if you are not qualified. Contact the supplier or a certified electrician. They have the tools and parts to repair the unit safely.
A technician can perform deep diagnostics. They can test the power electronics, check the sensor calibration, and update the firmware. This level of service extends the life of the charger. It also ensures safety compliance. Do not bypass safety interlocks to keep the unit running. A faulty charger is a liability.
Keep Your Records and Logs
Digital logs are a powerful tool for AC charger troubleshooting. Most modern units store fault history. Export these logs regularly. Look for repeating codes. If the same fault appears every month, there is a systemic issue. It could be a loose connection, a degraded cable, or an environmental factor.
Include the date, time, and error code in your log. Note the weather conditions. Record any recent changes to the site. A new vehicle model or a change in the power supply can trigger new faults. This context helps diagnose the problem.
Use the logs to plan maintenance. If a unit shows a trend of increasing faults, schedule a replacement. This prevents unexpected downtime. It also helps with budgeting. Keep the documentation organized. If the supplier needs to troubleshoot remotely, the logs provide the necessary data.
Final Checks Before Restarting
Before you restart a charger after a fault, perform a final visual inspection. Check the cable and connector. Verify the power is stable. Ensure the area is dry and clear. Then, reset the charger. Follow the manufacturer’s reset procedure. Some units require holding a button. Others reset automatically after a timeout.
Monitor the unit for the first charging session. Watch the indicators. Listen for fan noise. Check that the vehicle communicates correctly. If the fault returns immediately, do not retry. Turn the unit off and call a technician.
AC charger troubleshooting is about method. Check the obvious first. Power, grounding, and cables. Then move to communication and thermal issues. Use the logs and the manual. Avoid guessing. A systematic approach saves time and money.
Frequently asked questions
What is the first thing I should check if my AC charger shows a fault?
Check the power supply and grounding. Verify that the voltage is stable and the ground continuity is low. These are the most common causes of generic faults.
Can I reset the charger myself after a fault code?
Yes, if the fault is minor, such as a communication timeout. Follow the manufacturer's reset procedure. Do not reset if there are signs of physical damage or water ingress.
Does a faulty cable cause AC charger errors?
Yes. A damaged Mode 2 cable can cause communication errors or prevent the charger from starting. Inspect the cable regularly and replace it if the insulation is worn.
What if the charger keeps showing the same fault?
Log the fault and check for recurring patterns. It may indicate a systemic issue like a loose connection or environmental stress. If it persists, call a technician.
Do I need a technician for every fault?
No. Basic checks like cleaning vents and inspecting cables can be done by trained staff. However, internal electronic faults require a qualified technician.